Atari ST - Precision Software - 1988
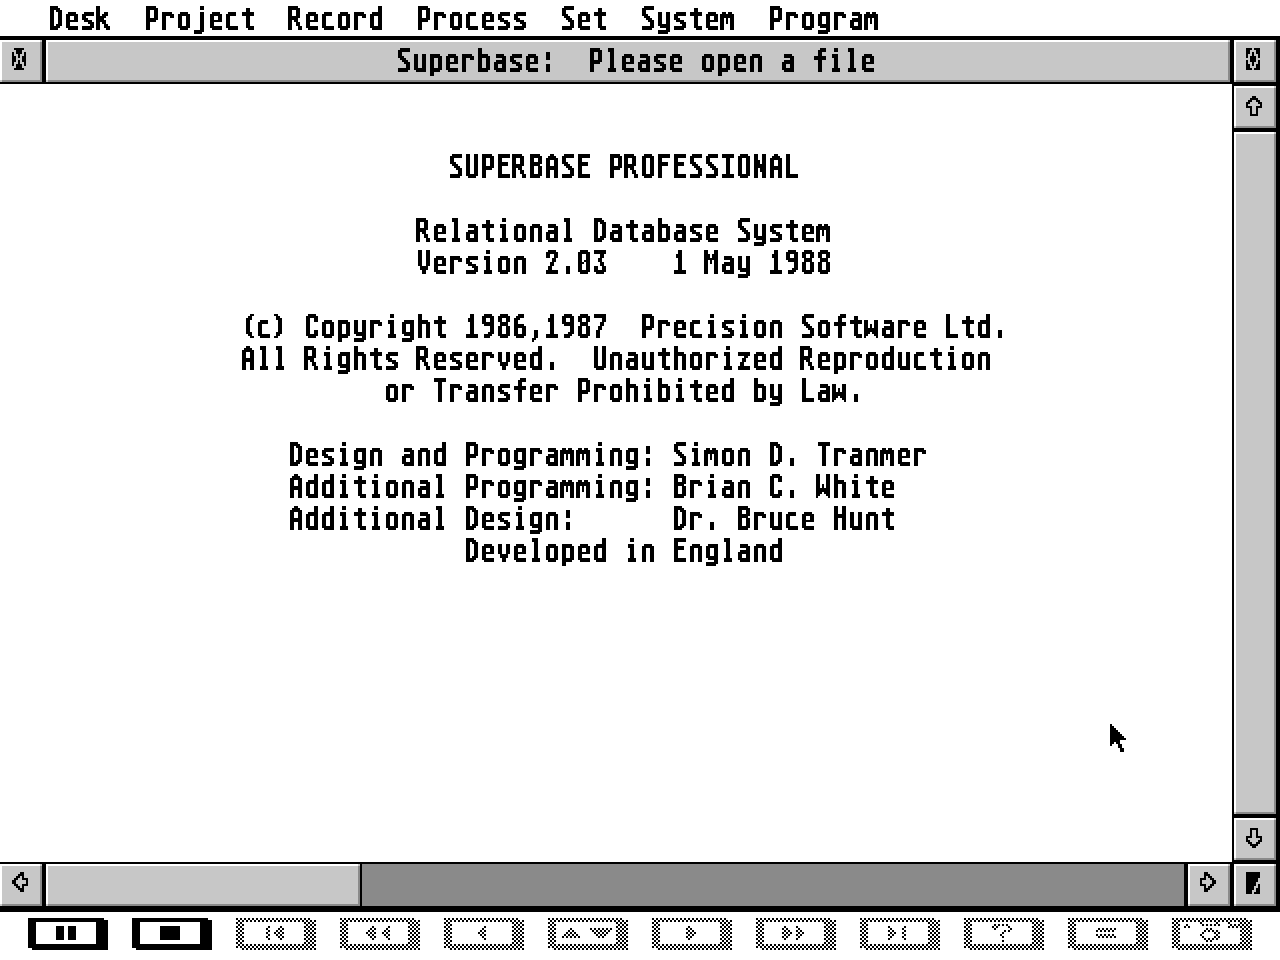
Superbase Professional
- Genre
- Database / Spreadsheet
- Year
- 1988
- Language
- [unknown]
- Publisher
- Precision Software
- Controls
- Mouse
- Distributor
- —
- Resolution
- Medium / High / VGA
- Developer
- Precision Software
- ST Type
- ST, STe, TT, Falcon030 / 1MB
- Licensed from
- —
- Programmer(s)
- White, Brian C. / Tranmer, Simon D.
- Country

- MIDI
- —
- Software
- English
- Version
- 2.03
- Box/Instructions
- English
- Number of Disks
- 1 / Double Sided
- License
- Commercial
- Dump
- Download
- Serial
- —
- Dump format
- MSA
- Protection
- —
OTHER VERSIONS WITH THE SAME TITLE (2)
INSTRUCTIONS
                             README
                             ======

This document contains information about a number of features in
Superbase Professional and the Forms Editor which could not be
fully described in the User Guides.

If you have loaded the Readme file into the Superbase Text
Editor, you can scroll down the document by pressing the down
cursor key or by using the scroll bars at the side of the window.


GDOS
----

The GDOS disk contains the files which are needed to display non-
system fonts on screen and to print a form in graphics mode. If
this disk is not present in drive A:

a. Any non-system fonts will be converted to system fonts.
b. Superbase will not be able to print a form in graphics mode.

The GDOS graphics printer driver is only suitable for Epson and
compatible printers. If you wish to modify the disk -- to install
a driver for a different printer (such as the Atari laser
printer) or to create a new copy discarding any fonts that are
not used on your system -- you will need to understand how the
disk works and how it is structured. The rest of this section
describes the GDOS files and the procedure for editing them.

In fact, the only file you will need to alter (if any) is the
assign.sys file which tells the GDOS program which screen and
printer fonts to use, and where to find them. The assign.sys file
should be stored in the root directory of the disk, while
GDOS.prg must reside in the \AUTO directory.

Assign.sys is an ASCII file which contains four lists giving the
non-system screen fonts for each resolution and the printer fonts
for the graphics printer driver. Each list is preceded by a line
which specifies the device driver used for the fonts that follow;
i.e., either a screen driver or the graphics printer driver.

The first line (the line before 01p screen.sys) sets the path
for the fonts, and printer driver. Otherwise this block can be
ignored -- it contains a list of default fonts and would be the
screen device used by programs that do not know which monitor is
installed.

The second list contains the fonts for low resolution screens and
is preceded by:
     02p screen.sys
(the low res screen device driver)

The third list contains medium resolution screen fonts and is
preceded by:
     03p screen.sys

The fourth list gives high resolution fonts and is headed by:
     04p screen.sys

Following these screen fonts, the assign.sys contains a list of
printer fonts (for graphics printing) preceded by:
     21 fx80.sys

In this case fx80.sys is the name of the Epson graphics printer
driver supplied with the product. To use another printer driver,
edit the assign.sys file to replace fx80.sys with the new driver
name and follow it with a list of the font names used by the
driver.

You may like to create a working copy of the GDOS disk which only
contains the files that are needed on your system. Copy the
entire disk first, then delete any screen fonts which are
referred to in the assign.sys file but are not actually used;
i.e. discard the medium res fonts if you always use a high
resolution monitor. It is not necessary to alter the assign.sys
file itself.


Displaying Images
-----------------

There are two contexts in which Superbase can display graphics
images: in the External File Management System (EFMS) and within
a form that makes use of external files. Images may be in one of
three resolutions -- high, medium, or low resolution -- according
to the type of system they were created on. This section
describes image and monitor compatibility; it describes what
happens when you load an image which was created on a system with
a different monitor.

With a high resolution monitor, high resolution images will be
shown as they are; medium and low resolution images will be
distorted and, if colour, will be shown in monochrome.

With a medium resolution monitor, high resolution images are
distorted in both the EFMS and the Forms Editor. Low resolution
images are distorted and monochrome when they are displayed in a
form, but can be reproduced faithfully within the EFMS. When you
click on the camera button Superbase will display the low
resolution images in a separate screen without distortion and
with its original colours. Click on the camera button to return
to the normal Superbase screen.

As you would expect, medium resolution monitors can display
medium resolution images without distortion. In the EFMS, these
images are shown in their original colours. Within a form, you
can switch between the image's original colour set (colour map)
and the normal Superbase colours. Initially, when you click on
the camera button, medium resolution images take the existing set
of colours. If you then click in the external field containing
the image, the colours will be set to the image's original colour
map. Click outside the field to revert to the Superbase colours.

Note 1: Superbase does not run with a low res monitor, but on a
medium resolution monitor it can show low resolution images
without distortion (in the EFMS using a separate screen).

Note 2: The Forms Editor manual does not mention that the
Alignment attribute also applies to images. In the same way as
other field data, images can be aligned to the top left, the
centre or the bottom right of their field boxes.


Image Printing
--------------

Gem can only print `.img' images, but Superbase will convert
images in other formats to `.img' format, and store them in a
temporary file (in the temporary file directory specified in
Options). This enables the user to print images in any of the
other formats acceptable to Superbase -- 3 Degas compressed, 3
Degas uncompressed, and Neochrome.

Images are clipped on screen but rescaled when printed out.


Saving Files under Program Control
----------------------------------

When you save a file using one of the menu options, if the file
already exists on disk, Superbase issue a message warning that
the file exists and asking if you want to replace it. But when
you save a file under program control, there is no warning
message; Superbase will not tell you if you overwrite another
file with the same name.

One solution to this problem is to include a routine in your
programs which checks whether the file exists on disk before
saving a file. You can do this using the OPEN `filename' FOR
INPUT command, where `filename' is the name of file you are about
to save. Superbase will generate a `DOS can't open file' error
(error number 68) if the file does not exist.


Miscellaneous
-------------

*   Start options. Contrary to what is stated in Appendix J, the
    Superbase start options are available on the Atari ST. They
    take the same form as they do on the IBM version of
    Superbase, as described in Appendix J.

*   If you try to print a line longer than the line length set in
    Superbase's Printer options, Superbase will output a Carriage
    Return followed by a Line Feed when it reaches the maximum
    line length.

*   The output format parameters BF, UL, IT enable you to set
    different print styles within a report or in the output from
    a query. If you wish to set other printing features, you can
    do so by using the CHR$ function to insert the appropriate
    printer control codes. With a report which has been generated
    in the Forms Editor, you will need to insert the control code
    sequences in the report program. In a query, you can simply
    enter them in the query fields line. For example, on some
    Epson printers, the control code 14 selects enlarged print,
    and the control code 20 turns it off. To output the data for
    one field in enlarged print, your query Fields line might
    look like this:

      Firstname, Lastname, CHR$(14);City;CHR$(20), Street

*   File Names. Avoid using the characters : ? # /\ ; or the space
    character. When using a file name as an argument to a command
    such as OPEN FILE, it must always be inside quotation marks.
    However, a file name used to extend a field name, e.g.
    Name.Customers, need not be inside quotes, unless it includes
    non-alphanumeric characters, i.e. other than A-Z and 0-9.
    Superbase supplies quotes when necessary during dialog
    selections, but if you type a command line in directly be
    sure to observe this rule.

*   If you are new to GEM, you may have difficulty in locating
    the Superbase program icon in the GEM window. When you click
    on the icon for the Superbase disk (or the Superbase
    directory on a hard disk), GEM displays the icons for the
    files on that disk. But if there are many files, only some of
    them will be shown in the window. One solution is to scroll
    the Superbase program icon into view using the scroll bars at
    the side of the window.

    A much simpler method is to select the `Sort by size' option
    from the GEM Arrange menu. GEM will then rearrange the
    directory display so that icons for the largest files appear
    at the top, and among them will be the Superbase program
    file.


Forthcoming Features
--------------------

Future releases of Superbase Professional will include the
following product enhancements:

*  Communications

*  Multi-line transaction handling on forms

*  Improved form printing

*  Data conversion utility

*  Additional programming commands

*  Further performance optimization

Certain features of Superbase Professional referred to in the
manual have not been included in Version 2. These relate to
the multi-line transaction handling capability, which requires
formula syntax allowing SUM, for example, to be used in form
calculations. The EDIT REPLICATE menu option in the Forms Editor
will not be enabled until the full transaction handling version
of Superbase is released.
ARTICLE (4)
News