

Atari ST - Antic Publishing - 1990
Logic Lab
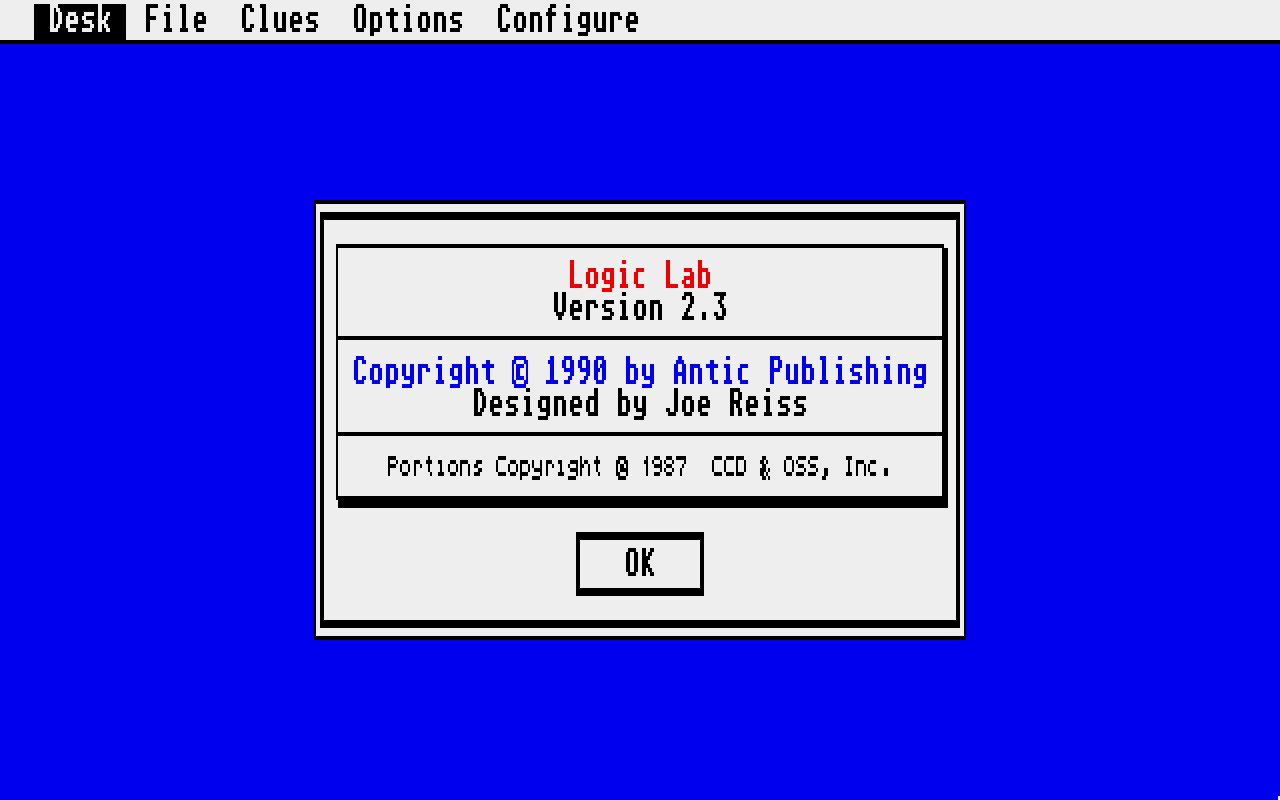
- Genre
- Brain - Logical / Puzzle
- Year
- 1990
- Language
- Compiled Pascal
- Publisher
- Antic Publishing
- Controls
- Mouse
- Distributor
- —
- Players
- 1
- Developer
- [n/a]
- Resolution
- Medium
- Licensed from
- —
- Programmer(s)
- Reiss, Joe
- Country

- Graphic Artist(s)
- Reiss, Joe
- Software
- English
- Game design
- Reiss, Joe
- Box/Instructions
- English
- Musician(s)
- [n/a]
- License
- Magazine
- Sound FX
- Reiss, Joe
- Serial
- —
- Cover Artist(s)
- —
- ST Type
- ST, STe / 0.5MB
- MIDI
- —
- Version
- 2.3
- Dump
- Download
- Number of Disks
- 1 / Double Sided
- Dump format
- ST
- Protection
- —
INSTRUCTIONS
Logic Lab

BY JOE REISS


Logic puzzles -- those mind twisters with the grids and clues that you
can work on for hours and consider it a major accomplishment to find
that Jimmie's shoes aren't blue.  It can really get on your nerves
when you think you have the puzzle solved, but when you want to mark
an X in the grid, there is an O already there staring back at you.  So
you have to erase the whole thing and tear your puzzle book to ribbons
in the process.

That was why I decided to write Logic Lab.  One day while solving
a logic puzzle, I noticed a pattern in the way the words were entered
into the grid.  Aha!  A pattern!  This calls for a program.  So, I
hauled out my copy of ST Logo (God forbid!) and set about writing the
code.  Well, needless to say I soon found Logo's speed agonizingly
slow.  So, I turned to Pascal.

I had to learn Pascal from scratch.  But, once I got the hang of
it, this program flew.  I've been working on it for at least two years
now, and I'd be willing to bet it still is not finished.  But then
again, when is a really good program ever finished?

LOGIC.ARC should have un-ARCed into seven files, one of which is the
file you are now reading, LOGICDOC.ASC.  LOGICLAB.PRG is the actual
program.  Unfortunately, it only runs in medium resolution.  The two files
ending in .LGC are Logic Lab puzzle files.  The three .PAS files are
Personal Pascal source code files.  LOGICLAB.PAS is the heart and soul
of Logic Lab.  FILES.PAS is a collection of two general purpose
routines that I use to make access to the file selector easier on the
programmer.  Finally, SOUND.PAS comes from SRM's Tackle Box ST and is
used to play a bit of music when the user solves a puzzle.

	The Menus

When Logic Lab is run, the menu bar appears.  The keypress
associated with any given menu item is located to the right of the
item's name.  Most of the items are disabled when you start, because
there is no puzzle to manipulate.  However, for the sake of clarity, I
will just discuss the items as they are found in the menu.

The initial entries in the FILE menu handle puzzle files.  The
first of these items, New Puzzle, is used when you want to create a
puzzle from scratch.  When selected, a dialog box will appear which
prompts you for the puzzle's title, the number of big sections the
grid is divided into, and the number of smaller sections that each big
section contains.  Now, a series of dialog boxes appears, allowing you
to enter the text into the puzzle's grid.  The sections are ordered
starting down the left-hand column.  The very last section is the
leftmost section from the top text bar.  Logic Lab takes these entries
and then fills all the text in the puzzle.  After the puzzle grid
appears, you may change the text locations at any time simply by
clicking on the word you wish to edit.  When you have confirmed your
change, Logic Lab will make the modification in both places the word
occurs, if it does occur twice.

Load Puzzle and Save Puzzle are fairly obvious.  They use the standard
GEM file selector to specify a file to either load from disk into
memory or in which to save the current puzzle data.  Some checking is
done to make sure the file is a valid selection, then the operation is
performed.

Clear Puzzle is most useful when you find that you have made a major
mistake in your puzzle that you did not notice soon enough.  With
Clear Puzzle, the timer is reset and the marks in the grid are
cleared, but the puzzle grid's text, introduction, and clues remain
the same.

Print Puzzle prints a hardcopy of the current puzzle to the printer
port.  Logic Lab utilizes the print codes specified in the CONFIGURE
menu when printing (more on this later).  You won't need to change the
printing codes if you have an Epson-compatible printer because Logic
Lab defaults to Epson-standard codes.  Anyway, after checking to see
that the printer is ready, Logic Lab prompts you for the print
quality, either Draft or Final.  Then, the printing begins.  First the
title is written, followed by the puzzle grid, the introduction, and
the clues.  At the bottom of the listing, a short notice about Logic
Lab is written.

Load Info and Save Info allow the user to store program configurations
on disk.  An info file consists of color settings, the default
settings of the OPTIONS menu flags, and the printer codes.  On
startup, Logic Lab looks for a file called LOGICLAB.INF in the current
directory.  If found, then the settings contained in this file become
the defaults.

Finally, Quit exits the program.  If a change has been made in
the puzzle, you will be given the choice of proceeding with the Quit
or of returning to the program.

The CLUES menu allows you to enter the introduction and clues
that accompany the puzzle.  Edit Intro modifies the introduction while
Edit Clues changes the clues.  Since the two are very similar, I will
only cover Edit Clues.  I use this as the example because it is
slightly more involved.

When selected, Edit Clues presents a dialog box where you may
enter the first clue.  If a clue has already been entered, it will be
displayed here.  When you are editing, you must make sure that you hit
Tab or Down arrow at the end of a line to move to the next line.
Perhaps I'll fix this in the future, but that is the way it works now.
When you have finished with a clue, select DONE to return to the
program, BACK to edit the previous clue, or NEXT to edit the next
clue.

Display Clues opens a window in which the puzzle's title,
introduction, and clues are displayed.  You may scroll through the
window using the scroll bar, or using special hot keys.  The up and
down arrows move the display up or down one line.  When the up/down
arrows are used with the shift key, they scroll one page.  The
Clr/Home key moves you to the top of the display, and Shift Clr/Home
moves you to the bottom.

You can also change the clues, intro, or title when this window
is displayed using only a mouse click.  To edit any of them, all you
have to do is click on the one you wish to change.  A dialog box will
appear containing the item.  The rest of the editing operation is
fairly straight forward.

The OPTIONS menu gives the user access to some of Logic Lab's
more powerful features.  The first three items are flags that can help
you in solving the puzzle.  Fill X's will mark X's (falses) in every
row and column of a section if you place an O (true) there.  Fill O's
does just the opposite.  If you fill every row or column in a section
with X's, this flag will mark the one remaining box with an O.

Extrapolate is where Logic Lab really shines.  When used in
conjunction with the other two solving flags, Extrapolate can
virtually solve the puzzle itself.  All you will have to do is enter
the information from the clues.  Extrapolate does this by looking for
certain patterns in the marks already on the grid as compared to those
that you enter.  When it finds a known relationship between X's and
O's, it can then mark an X or O in the proper square accordingly.  The
process of determining the relationship is too involved to go into
detail here.

Undo allows you to correct any errors you may have made within the
last five "moves."  This is very useful when using Extrapolate.  If
you make a mistake with Extrapolate on, simply erasing the mark may
not remove all other side effects.  Undo will.  To the left of the
word Undo, you will see a count of how many Undo buffers you have
filled and can therefore be recalled.  Please notice that you cannot
Undo a Clear Puzzle.

Display Timer will open a clock window which will keep track of how
long you are taking to solve a puzzle.  Using this, you can strive to
improve your own best time, or you can work against friends to see who
can solve the puzzle in the shortest amount of time.  Pause Timer
simply stops the timer and puts up an alert box that will wait for you
until you can return to the puzzle.  The timer is also stopped
whenever some other dialog box is on screen.  It wouldn't make sense
to penalize the user for time taken to interact with the program.

The CONFIGURE menu allows you to customize some of Logic Lab's
settings.  The first entry, Set Colors, allows you to change the
default colors that Logic Lab uses.  It works much like other color
setting functions, but strongly resembles the one found in the
original Degas.

Text Printing and Graphics Printing allow you to enter escape codes
for your printer that Logic Lab will use when printing the puzzle.
These two functions use a special little language to enter escape
sequences.  While perhaps a little awkward at first, I think you will
find it very easy to use after a while.

First, any character may be entered using its ASCII code.  If the
number is entered with an "Ox" before it, it will be treated as a
hexadecimal number.  If it is entered with nothing before it, then it
is treated as a decimal number.

Characters may also be entered as strings.  To do this, simply
enclose the string of characters in single quotes.  Then, anything
inside the quotes will be interpreted exactly as it appears.

Finally, this mini-language also has several mneumonics to make
life easier on you.  The symbol "ESC" will be replaced by an escape
character (Hex 1B).  In the entries for Single Density and Double
Density graphics (one line), the symbols "HI" and "LO" represent the
high and low bytes of a 16-bit number that tells the printer how many
columns of graphics data are going to be sent to it.  I have also seen
these refered to as "n1" and "n2", and as "H" and "L".

Each of these different items must be separated from the items
immediately before and after it with spaces and/or commas.

	Finally, Onto the Program

Now that we have taken a look at the menu bar, let's look at how
to use the puzzle grid.  The interface is really quite simple.  To
place an X in the grid, click the left mouse button once.  To place an
O, click the left button twice.

To erase a mark already on the grid, simply click on it.  If
however, the mark is an O, and you wish to remove the X's in the
corresponding rows and columns of that section, you can just double
click on the O.  Simple enough, right?

Logic Lab interprets a puzzle as being solved when all the O's
have been filled into the top row of the puzzle grid.  When this
happens, Logic Lab will play a short little tune to congratulate you.
(I think everyone will know what it is.)

	The Programming

If you are not interested in programming Personal Pascal, then this is
the end of this article.  If, however, you are interested, then you
might find what follows interesting.

Right off the bat, I want to emphasize that you cannot compile
this program using Personal Pascal Version 1.xx.  Many of the routines
I use are only available in Version 2.  For example, I call several
VDI and AES routines using the Pascal routines VDI_CALL and AES_CALL.
These were not available in Version 1.

Also, a routine called OBJ_DRAW is an undocumented Pascal
routine, and I don't know if it can be found in Version 1 or not.
However, if users of Version 2.xx have never heard of it, take my word
for it, it's there.  I guess it takes the place of the nonexistent
OBJ_REDRAW.  Nice of the folks at OSS (and now ICD) to tell us.

Secondly, I have to thank SRM Enterprises for Tackle Box ST.
Without it, this program would not be half of what it is.  I used it
many times to help me find that certain AES or VDI routine I needed to
pull off some fancy trick in a dialog box somewhere.

Those grow- and shrink-boxes I use when editing the puzzle's text
locations are done with AES routines, and the color setting box just
wouldn't work at all with out access to these extra procedures.

Alright, enough with the speech.  Now about the program.  Most of
it is relatively uneventful.  As a matter of fact, the majority of the
code is devoted just to keeping up the GEM interface.  For anyone
interested in using GEM with Pascal, this is the place to look.  The
program is well-commented and I use every type of event possible.

The most interesting code is that used for the Extrapolate logic.
These are the routines DoCheckX and DoCheckO.  While the code may look
confusing, walk through it with the comments.  It's really straight
forward when you get down to it.

The keys to the logic are:  1) the fact that certain marks can
always be made at the intersection of where an X or O is marked and
where other X's and O's occur on the puzzle grid, and  2) the magic
word, recursion.  You will notice that the routines DoAddX and DoAddO
call DoCheckX and DoCheckO.  When these routines have to mark an X or
O, they in turn call DoAddX or DoAddO.  This looping allows for all
possible marks to be interpreted as the process executes.

I'm sure that some of the nested subroutines could have been
combined -- they're very similar -- but I couldn't see any easy way
off hand to do so.  If you can find a way, feel free to combine them.
I would like to know about it as well; you can write to me care of
START.


Until next time, happy puzzle solving!