
Atari ST - Tony Severa's Computer Service - 1988
Dungeon Master Hint Disk
- Genre
- Miscellaneous
- Year
- 1988
- Language
- [unknown]
- Publisher
- Tony Severa's Computer Service
- Controls
- Keyboard / Mouse
- Distributor
- —
- Players
- 1
- Developer
- Game Grid Software
- Resolution
- Low
- Licensed from
- —
- Programmer(s)
- White, Stephen
- Country

- Graphic Artist(s)
- Taylor, Bryce / Pabon, Theodore
- Software
- English
- Game design
- Severa, Tony
- Box/Instructions
- English
- Musician(s)
- [n/a]
- License
- Commercial
- Sound FX
- [unknown]
- Serial
- —
- Cover Artist(s)
- —
- ST Type
- ST, STe / 0.5MB
- MIDI
- —
- Version
- —
- Dump
- Download
- Number of Disks
- 1 / Double Sided
- Dump format
- ST
- Protection
- —
INSTRUCTIONS
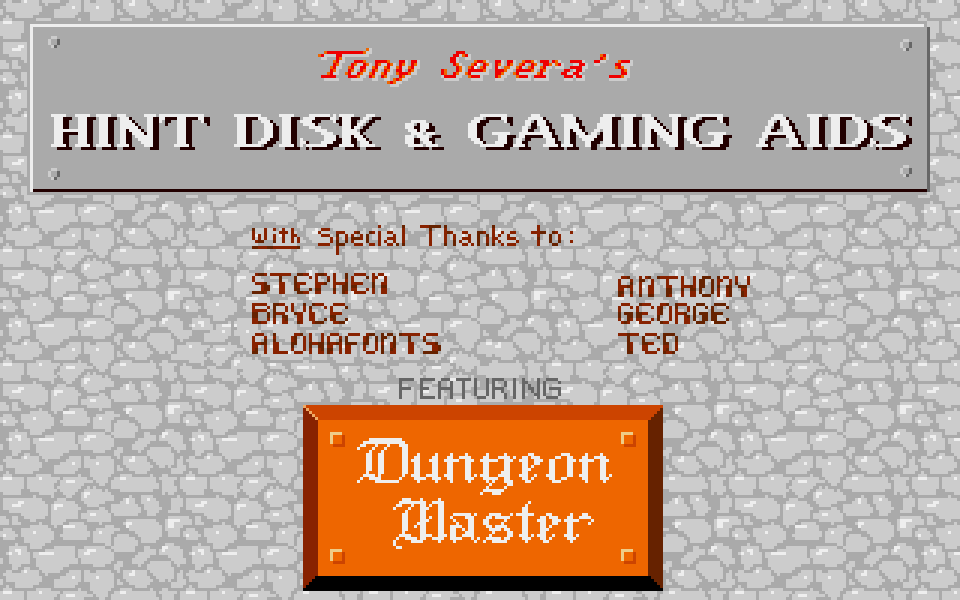
Tony Severa's Hint Disk & Gaming Aids
(June 28, 1988)

A short note on copy protection: This game is not copy protected
for YOUR convenience.
A short note on piracy: DON'T!

Nuf said?...Nuf said!

NOTE: Make a copy of this disk before using. The program on this
disk makes changes to the files so it can keep up with your needs.
The disk needs to be "unlocked" so it can change files as needed.

After the title page clears you will see the "viewer" screen with
credits given to those who helped make this program possible.

A brief description of all selections on the screen follows:

1. View Map: This command will take whatever level map that is
loaded and provide you a "full screen" overview of the map. Only
those areas unshaded will show.

2. Read Hints: This command allows you to enter the "text reader"
and read or print to an "Epson compatible" printer, part or all of
the text files on the disk.

3. View Picture: This command will allow you to view any Degas
Compacted picture on the disk. Provided on this disk are three
pictures depicting some common spells and how to cast them.

4. Load Map: This command will allow you to view any of the
thirteen levels of the dungeon, one level at a time. Note: there
will be a slight pause between going from one level to another
because the program will "save" your current position on the map
before loading the next level.

5. Find Hints: This command will cause any location with a hint
associated with it to flash.

6. Hints On/Off: This command when turned "on" will show the hint
of a location when the cursor is placed upon it and the left
button is pressed. When turned "off", placing the cursor and
pressing the left button will indicate what the object below the
cursor is in the "object" window.

7. Compass Rose: These arrows are used to move about the map that
has been loaded.


When you load a map for the first time, the screen will show only
a small part of the map, usually the portion you would see when
you come down the stairs.

By pressing the left button and moving the cursor around the
"shaded or dark area" you will "light" that area and see what is
under it. Pressing the "shift" key and the left button and you can
"darken" any area under the cursor.

You can also move about the map by placing the cursor in the
middle of the map and, while pressing the right button, move the
cursor up, down, right or left and the map will "scroll" in the
appropriate direction.

Feel free to "reveal" as much of the map as you wish. Some of you
will want to reveal only as much area as to the next door. Some of
you will want to see what is behind the door. And, there are those
of you who want to see everything.

If you want to reveal everything, you can. While holding down the
"shift" key press F1. This will "turn on the lights" of the whole
level. To reverse this process or turn out all the lights, all you
have to do is while holding down the "shift" key, press the F2
key. Please note: This will darken ALL the level, including the
beginning area, so you may want to "scroll" to that area before
darkening all the level, so you can start again.

Please note that the "x,y" coordinates on the screen indicate the
cursor position while it is on the map and the middile of the
viewer when the cursor is off the map. The "x,y" coordinates are
an arbitrary measuring system we used  to indicate each step taken
by the characters in Dungeon Master. These would assist you in
finding yourself if you are making your own maps from ours.

Another way of moving about the map, other than that mentioned
above, is by using the "arrow keys". They will move you one space
up, down, right and left and a time.

To move by "clicking" on the compass rose inner arrows moves the
map one space in that direction. By "clicking" on the outer arrows
will move the map 10 spaces in that direction.

It is best to keep the "Hints On/Off" command "off" while
revealing portions of the map. Only turn on this command when you
want to read specific hints for specific spaces.

To find a "hint" all you have to do is click the Find Hints
button. Keeping the left button pressed will make the locations
with hints flash. You can then move the cursor to the flashing
location and let up on the left button and click again. The text
of the hint will appear in the "text portion" of the viewer.

To view the hint, you can scroll (two lines at a time), up and
down by "clicking" on the up and down arrows.


When you want to see an overview (or full screen representation)
of the whole level (uncovered portions only) you must press the
"View Map" button.

There will be a slight hesitation (while the computer adjusts the
level of magnification) and the screen will then show a full-
screen representation of the current loaded level.

While this screen is on your monitor, you can make a copy of it on
your Epson compatible printer by holding the Alternate key down
and pressing the Help key. To stop the printing, all you have to
do is press the same keys again.

Note: The quality of the printing is related to the shades of grey
because of the color and magnification required to put the whole
map on the screen.

It is possible to make a Degas picture file of the screen by
pressing the right button while viewing the whole map on the
screen. Be careful to place an "initialized" disk in the drive to
receive the picture. The Hint Disk does not have enough room to
hold many pictures. One saved, the picture can be loaded into
Degas and manipulated to your hearts content.


Clicking the "Read Hints" button places you in a "text viewer"
mode. You will be asked to select an appropriate .DOC file. Once
loaded, the screen will fill with text and several commands will
be shown across the left bottom of the screen.

NOTE: The cursor will only show on the left portion of the screen
because all the commands are on the left portion of the screen.
Don't let it bother you. We planned it that way.

Clicking the F1 or pressing F1 will allow you to load a .DOC file
over the one, if any, currently showing on the screen.

Clicking the F2 or pressing F2 will allow you to print a "block"
of text (see marking blocks of text below) or the whole document.

Clicking the F3 or pressing F3 will allow you to "search" for a
specific series of characters or word in the document. NOTE: the
search mode ignores upper/lower cases and starts at the "top" of
the screen. So, if you have already found a location where the
word appears, it will be place on top of the screen and
highlighted. To continue the search, scroll down one space and do
the search again. You can also search in both directions.

Clicking the F10 or pressing F10 will return you to the "map
viewer" part of the program.

Clicking the left "+" will move the text up one line.

Clicking the left "-" will move the text down one line.

Clicking the right "+" will move the text up one full screen.

Clicking the right "-" will move the text down one full screen.

Clicking the "T" will move to the top of the document.

Clicking the "B" will move to the bottom of the document.


Marking the start of a block is done by pressing the left button
of the mouse while the cursor is on the top line you want
highlighted.

Marking the end of a block of text is done by pressing the right
button of the mouse while the cursor is on the bottom line you
want highlighted.

Highlighted text can be printed by selecting F2 or clicking on the
F2 at the bottom of the screen.


This command will allow you to "view" on screen any low res, or
medium resolution picture saved as Degas compressed on the disk.
(.PC1 or .PC2)

While viewing the picture, a "print" of the picture can be sent to
your Epson compatible printer by holding down the Alternate key
and pressing the Help key.

If you encounter any problem with printing your pictures or
overviews, make sure you have the proper selections made to the
control panel as indicated by your Atari manuals for your printer.